Viverian Architecture: Difference between revisions
A. Pippenger (talk | contribs) (Created page with "Viverian Architecture is a Minecraft building style used by many players on SimPvP and similar anarchy and survival servers. The style has developed through years of players a...") |
A. Pippenger (talk | contribs) No edit summary |
||
| (49 intermediate revisions by the same user not shown) | |||
| Line 1: | Line 1: | ||
[[Category:Community page]] | |||
Viverian Architecture takes inspiration from historical Vitruvian architecture and its three virtues: firmitas, which becomes durability, utilitas, which becomes affordability, and venustas, which translates to | [[File:Estevez1.png|600px|right|]] | ||
=Overview= | |||
[[File:Estevez1.png|600px|center|]] | |||
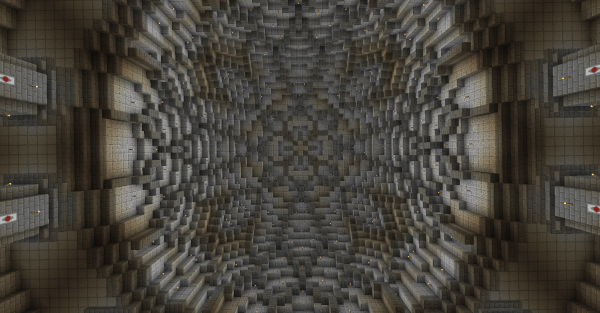
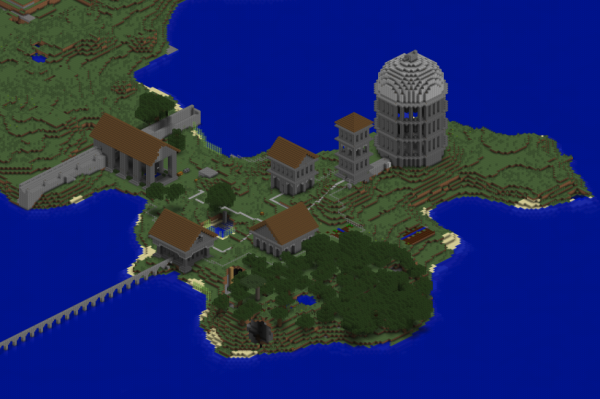
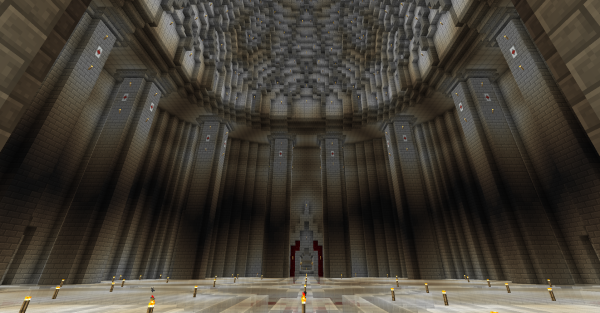
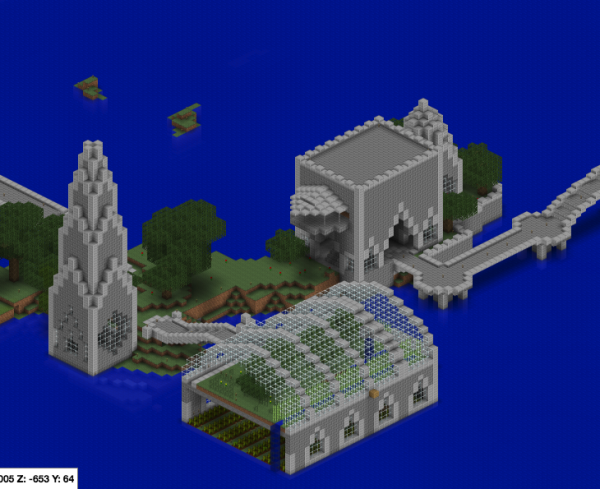
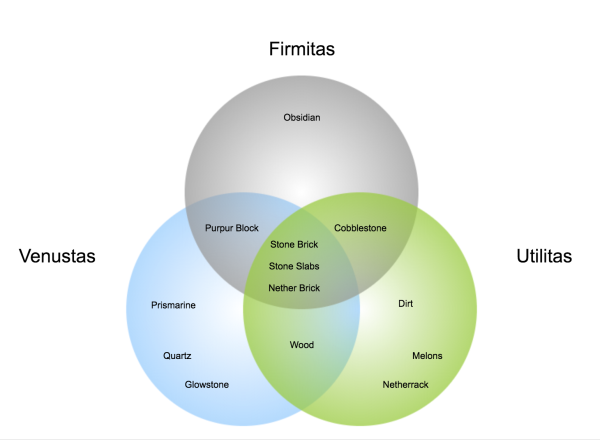
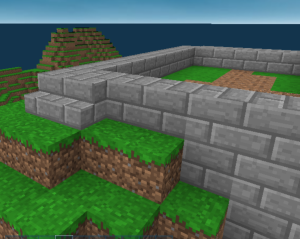
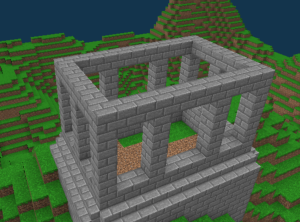
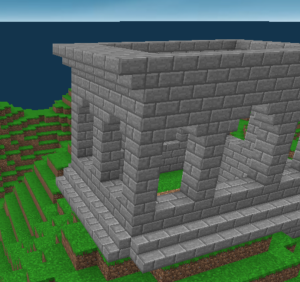
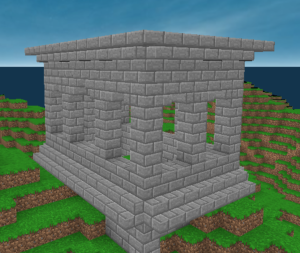
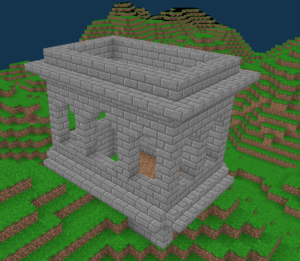
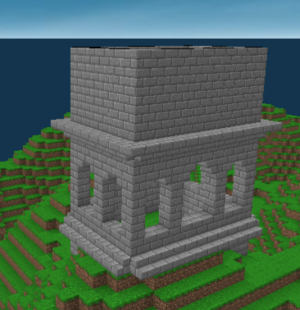
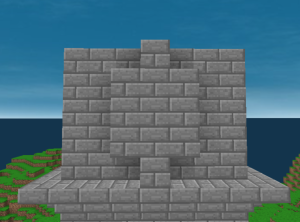
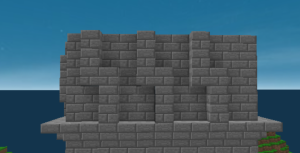
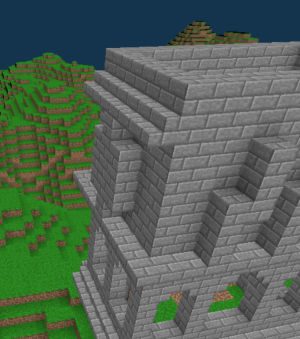
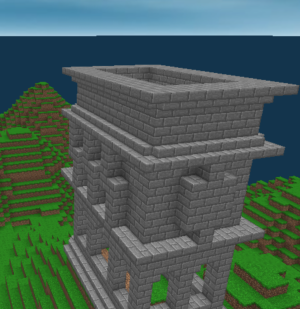
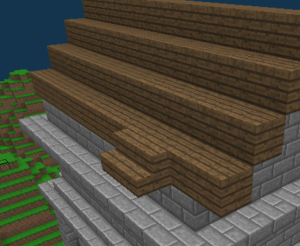
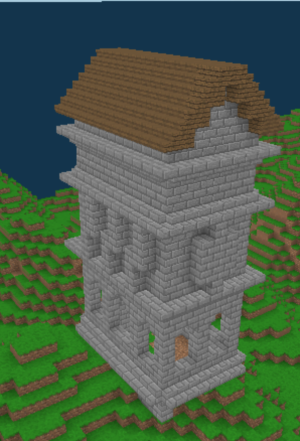
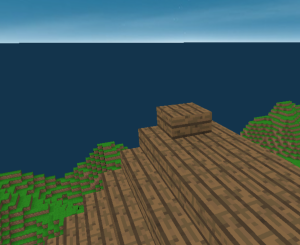
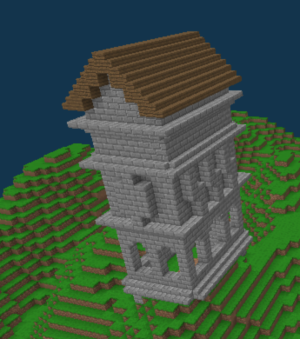
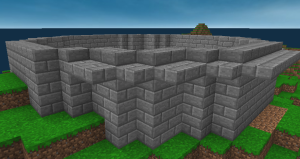
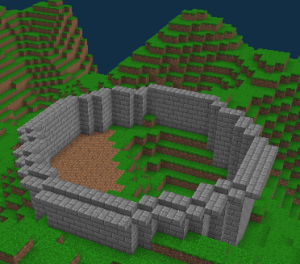
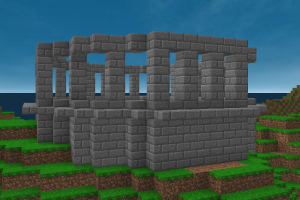
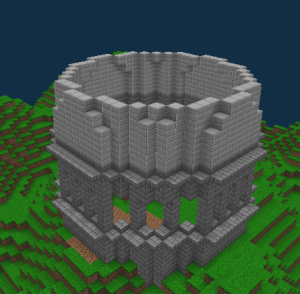
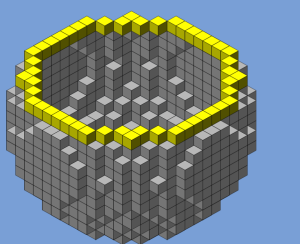
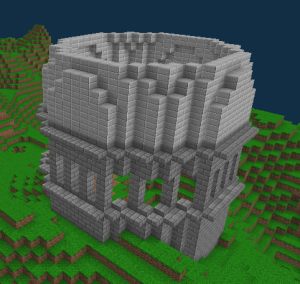
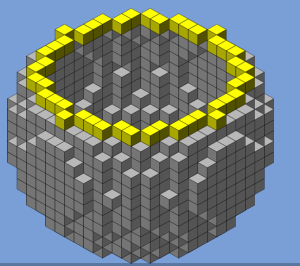
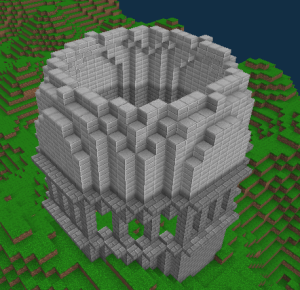
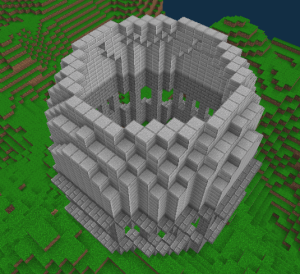
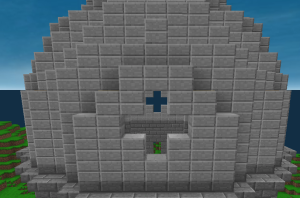
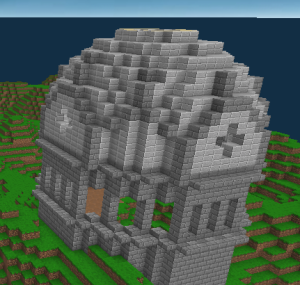
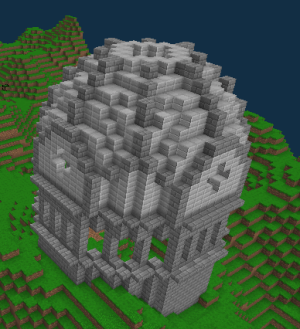
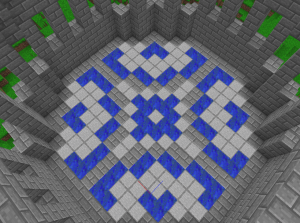
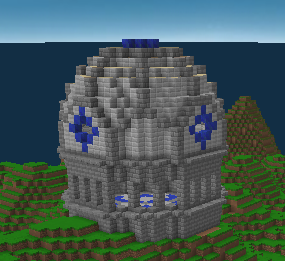
Viverian Architecture is a Minecraft building style used by many players on SimPvP and similar anarchy and survival servers. The style has developed through years of players attempting to balance three qualities: durability, affordability, and beauty. Viverian Architecture relies primarily on stone brick and stone slabs, as these materials are thought to provide the ideal mixture of the three qualities. | |||
[[File:CosaIso1.png|600px|center|]] | |||
[[File:EstevezDome.png|600px|center|]] | |||
[[File:CindisfarneIso2.png|600px|center|]] | |||
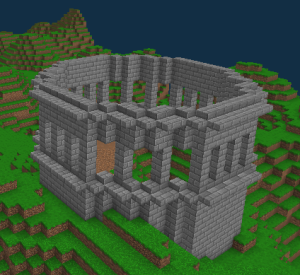
Viverian Architecture takes inspiration from historical Vitruvian architecture and its three virtues: firmitas, which becomes durability, utilitas, which becomes affordability, and venustas, which translates to beauty. For these same three reasons, Vivierian Architecture draws heavy inspiration from Greco-Roman and Neoclassical architecture of Earth. Echoing real history, Viverian Architecture is heavily associated with the [[Imperial Architecture]] of SimPvP's distant past. | |||
[[File:ViverianArchitectureVennDiagram1.png|600px|center|]] | |||
The stylistic and material choices of Viverian Architects have been criticized by various players, but it has determined that no major changes could be made without sacrificing at least one of the three virtues. | |||
=Guide= | |||
stuff will go in here | |||
==Basic== | |||
[[File:VivBasic8.png|300px|]] | |||
Basic Viverian Architecture is designed to provide a simple but respectable house to a builder of good taste but limited skills or resources. It is not designed to be better than true architecture, but only to be better than a dirt or cobble cube house. | |||
===Foundation=== | |||
[[File:VivBasic1.png|300px|]] | |||
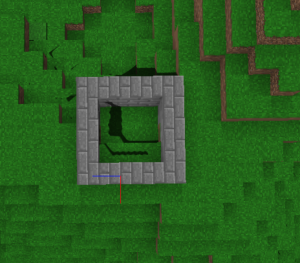
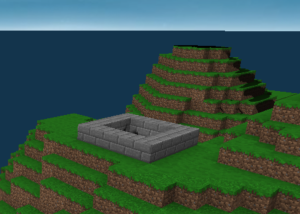
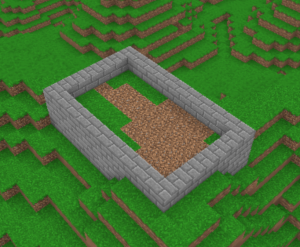
The fundamental unit of Basic Viverian Architecture is a cobblestone square of an odd width and length (i.e. 5, 7, 9). | |||
[[File:VivBasic2.png|300px|]] | |||
===Windows=== | |||
[[File:VivBasic4.png|300px|]] | |||
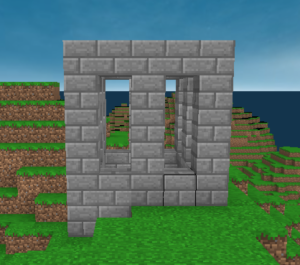
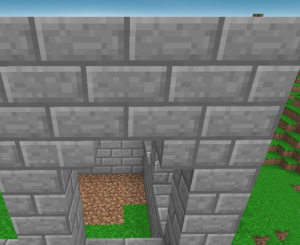
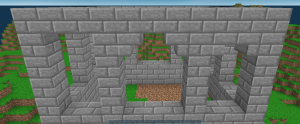
Simple Viverian windows are often 1 wide by 3 tall gaps between thin stone pillars, based on a simplified version of classical Greek pillars. | |||
===Floor=== | |||
[[File:VivBasic5.png|300px|]] | |||
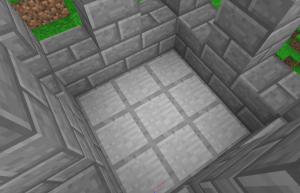
A Basic Viverian floor will often be plain stone slabs. | |||
===Roof=== | |||
[[File:VivBasic7.png|300px|]] | |||
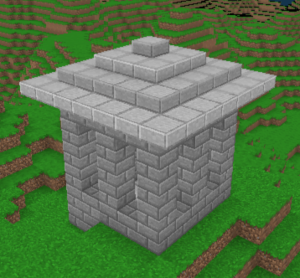
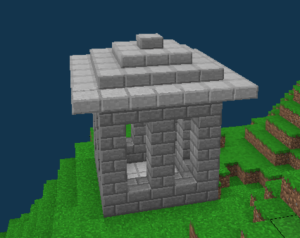
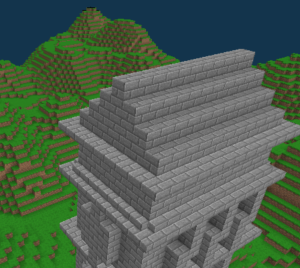
The ideal roof material for Basic style is stone slabs, usually in a simple pyramidal shape. | |||
==Intermediate== | |||
Intermediate Viverian Architecture is meant to provide guidelines for pleasing, yet still fairly simple, house designs. Houses of this type can be produced quickly and cheaply relative to their size and quality, making them convenient to build on survival servers. | |||
===Foundation=== | |||
[[File:Vivinter1.png|300px|]] | |||
The typical Intermediate Viverian house uses a rectangular foundation laid out roughly according to the golden ratio. A 7 wide by 11 long foundation is common. To be considered better than Basic, the foundation must be supported by stone brick stairs, displayed below. | |||
[[File:Vivinter2.png|300px|]] | |||
These stairs, in turn, must be supported by stone bricks beneath them. | |||
[[File:Vivinter3.png|300px|]] | |||
Once the support is complete, raise the core foundation by 1 meter vertically. | |||
[[File:Vivinter4.png|300px|]] | |||
===Windows=== | |||
[[File:Vivinter5.png|300px|]] | |||
Intermediate windows can be simple square 1 by 3 holes as in Basic, but they are often slightly more complex. The typical Intermediate window is also shaped roughly according to the golden ratio, often 3 by 4 or 2 by 4. Not all windows in a house must be the same width. A 2 wide window may be placed beside a 3 wide window. | |||
[[File:Vivinter6.png|300px|]] | |||
After enclosing the windows, place upside down stairs at the top to create arches. | |||
[[File:Vivinter9.png|300px|]] | |||
Turn all the windows into arches. | |||
[[File:Vivinter11.png|300px|]] | |||
===Border=== | |||
Above the windows, build the wall up by 2 meters. | |||
[[File:Vivinter12.png|300px|]] | |||
After a 1 meter vertical rise, place a layer of upside down stairs. Borders of this type are an integral part of Intermediate style. | |||
[[File:Vivinter13.png|300px|]] | |||
[[File:Vivinter14.png|300px|]] | |||
After completing the stairs, build up the wall by an additional meter. | |||
[[File:Vivinter15.png|300px|]] | |||
Then add several more meters of stone brick walls. | |||
[[File:Vivinter16.png|300px|]] | |||
===Reliefs=== | |||
On these blank sections of walls, reliefs can be built. Below is displayed a typical frontal relief. This particular shape is known as a Pip. | |||
[[File:Vivinter17.png|300px|]] | |||
On the sides of buildings, reliefs in the shape of S or Z are more common. | |||
[[File:Vivinter18.png|300px|]] | |||
Once the reliefs are complete, enclose them in an additional support border of stairs. | |||
[[File:Vivinter20.png|300px|]] | |||
===Roof=== | |||
Build up the walls by an additional few meters, then place another border layer of upside down stairs. The roof will go above this layer. | |||
[[File:Vivinter22.png|300px|]] | |||
The roof of an Intermediate style house is often a triangular prism, built around a core stone ceiling. | |||
[[File:Vivinter24.png|300px|]] | |||
[[File:Vivinter25.png|300px|]] | |||
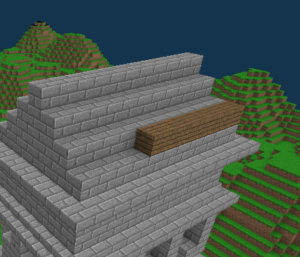
Atop the stone ceiling, place a layer of wood for the roof, ideally spruce planks. | |||
[[File:Vivinter26.png|300px|]] | |||
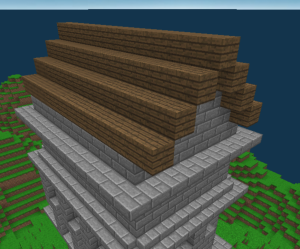
Make sure the spruce overhangs the stone walls by at least 1 meter horizontally to the front and back. | |||
[[File:Vivinter27.png|300px|]] | |||
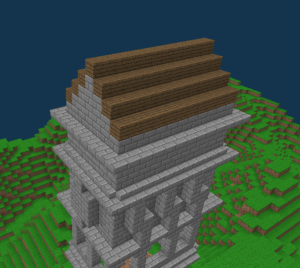
Then, place spruce stairs atop the roof. | |||
[[File:Vivinter28.png|300px|]] | |||
This will create a fairly realistic roof shape. | |||
[[File:Vivinter29.png|300px|]] | |||
At the peak of the roof, place spruce slabs. This will improve the appearance of the roof, and help prevent monster spawns. | |||
[[File:Vivinter30.png|300px|]] | |||
[[File:Vivinter31.png|300px|]] | |||
===Interior=== | |||
Intermediate houses should have slightly complex interiors. | |||
====Floor==== | |||
The floor of an Intermediate house is usually simple spruce planks or stone slabs. | |||
[[File:Vivinter33.png|300px|]] | |||
[[File:Vivinter34.png|300px|]] | |||
====Second Floor==== | |||
A second floor should be placed a few meters above the windows. | |||
[[File:Vivinter35.png|300px|]] | |||
[[File:Vivinter36.png|300px|]] | |||
Beneath this floor, place support arches for a more realistic and decorated appearance. | |||
[[File:Vivinter37.png|300px|]] | |||
===Entrance=== | |||
[[File:Vivinter39.png|300px|]] | |||
The house is still missing an entrance. That will be the next goal. | |||
[[File:Vivinter40.png|300px|]] | |||
After the entrance is complete, add a stone slab staircase/road leading out from the house. | |||
[[File:Vivinter42.png|300px|]] | |||
Enclose this road in one meter of stone brick on both sides. | |||
[[File:Vivinter43.png|300px|]] | |||
===Intermediate Subtypes=== | |||
====Domes==== | |||
[[File:VivDome Inter27.png|300px|]] | |||
Viverian Architecture is known for its domes, most often made of stone slabs. The domes are usually planned using the website plotz.co.uk, which allows Minecraft players to plan three dimensional voxel spheres. No login, payment, or download is required. | |||
[[File:VivDome Inter1.png|300px|]] | |||
First, go to the website, displayed above. Click the option "sphere" to plan a typical Intermediate dome building. | |||
[[File:VivDome Inter2.png|300px|]] | |||
The default setting is a size, or diameter, of 32. It can be made larger or smaller using the slider at the bottom of the page. | |||
[[File:VivDome Inter3.png|300px|]] | |||
For this example, the size will be 19. It can be any number, but odd numbers are always preferable. | |||
[[File:VivDome Inter4.png|300px|]] | |||
Then, set the height to slightly less than half, in this case, 9. | |||
[[File:VivDome Inter5.png|300px|]] | |||
Build a stonebrick circle which exactly matches the highlighted yellow blocks displayed on the website. | |||
[[File:VivDome Inter6.png|300px|]] | |||
Create a vertical overhang using either upside down stair blocks, or half slabs. This provides a three dimensional texture to the body of the build. | |||
[[File:VivDome Inter7.png|300px|]] | |||
[[File:VivDome Inter8.png|300px|]] | |||
Above the overhang, build windows or reliefs, with another similar overhang above them. | |||
[[File:VivDome Inter9.png|300px|]] | |||
[[File:VivDome Inter10.png|300px|]] | |||
Then, switch to the roof material, and begin building a circle of the same exact shape atop your building. | |||
[[File:VivDome Inter11.png|300px|]] | |||
At this point, refer back to plotz.co.uk to make sure you are building what you intend to. | |||
[[File:VivDome Inter12.png|300px|]] | |||
Raise the hight on plotz and continue building what you see. | |||
[[File:VivDome Inter13.png|300px|]] | |||
[[File:VivDome Inter14.png|300px|]] | |||
[[File:VivDome Inter15.png|300px|]] | |||
Continue until you complete the entire top half of the generated voxel sphere. | |||
[[File:VivDome Inter16.png|300px|]] | |||
[[File:VivDome Inter17.png|300px|]] | |||
[[File:VivDome Inter18.png|300px|]] | |||
[[File:VivDome Inter19.png|300px|]] | |||
[[File:VivDome Inter20.png|300px|]] | |||
[[File:VivDome Inter21.png|300px|]] | |||
[[File:VivDome Inter22.png|300px|]] | |||
[[File:VivDome Inter23.png|300px|]] | |||
[[File:VivDome Inter24.png|300px|]] | |||
[[File:VivDome Inter25.png|300px|]] | |||
[[File:VivDome Inter26.png|300px|]] | |||
The hemispherical dome roof is pleasing to the eye and makes the building slightly more impressive than its fairly small size and simple design would usually appear. | |||
[[File:VivDome Inter27.png|300px|]] | |||
====Spires==== | |||
====Multishape Structures==== | |||
====Roads and Bridges==== | |||
===Town Design=== | |||
==Advanced== | |||
good shit | |||
===Domes=== | |||
[[File:VivDome Adv1.png|300px|]] | |||
[[File:VivDome Adv2.png|300px|]] | |||
[[File:VivDome Adv3.png|300px|]] | |||
[[File:VivDome Adv4.png|300px|]] | |||
[[File:VivDome Adv5.png|300px|]] | |||
[[File:VivDome Adv6.png|300px|]] | |||
[[File:VivDome Adv7.png|300px|]] | |||
[[File:VivDome Adv8.png|300px|]] | |||
[[File:VivDome Adv9.png|300px|]] | |||
[[File:VivDome Adv10.png|300px|]] | |||
[[File:VivDome Adv11.png|300px|]] | |||
[[File:VivDome Adv12.png|300px|]] | |||
[[File:VivDome Adv13.png|300px|]] | |||
[[File:VivDome Adv14.png|300px|]] | |||
=History= | |||
more stuff will go here | |||
==Pre-History== | |||
===Chain City=== | |||
===Cindisfarne=== | |||
==The Empire== | |||
==Stonetown== | |||
==Ascaris== | |||
==The Order== | |||
==The Principate== | |||
==Quinsi== | |||
==The League== | |||
==Nocoords?== | |||
=fuck= | |||
I'm gonna take a break cause it's hard to write an article this pretentious. I swear to god I have so much actual shit to do and I can't believe I'm wasting my life on this | I'm gonna take a break cause it's hard to write an article this pretentious. I swear to god I have so much actual shit to do and I can't believe I'm wasting my life on this | ||
Latest revision as of 21:54, 30 July 2018
Overview
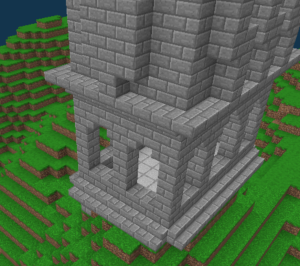
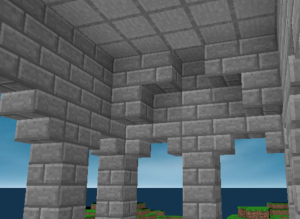
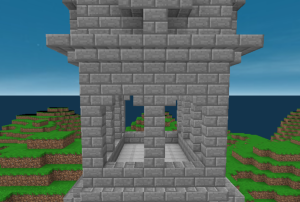
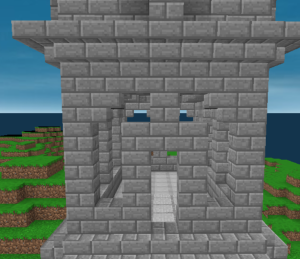
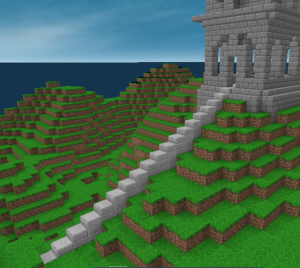
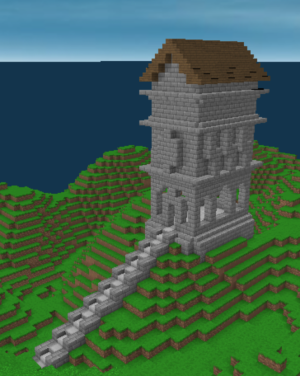
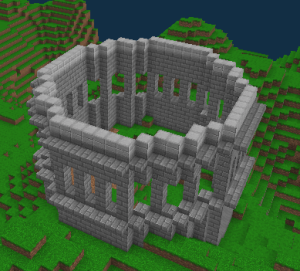
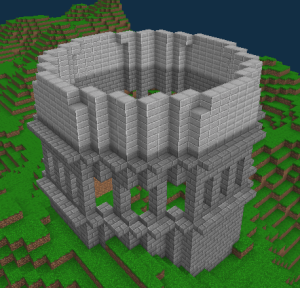
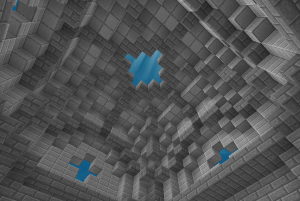
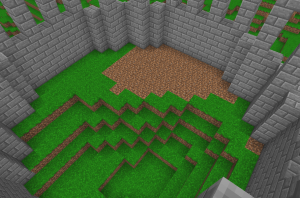
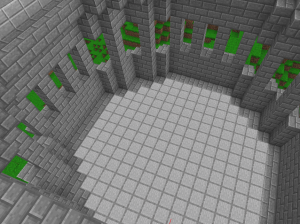
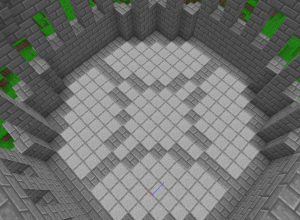
Viverian Architecture is a Minecraft building style used by many players on SimPvP and similar anarchy and survival servers. The style has developed through years of players attempting to balance three qualities: durability, affordability, and beauty. Viverian Architecture relies primarily on stone brick and stone slabs, as these materials are thought to provide the ideal mixture of the three qualities.
Viverian Architecture takes inspiration from historical Vitruvian architecture and its three virtues: firmitas, which becomes durability, utilitas, which becomes affordability, and venustas, which translates to beauty. For these same three reasons, Vivierian Architecture draws heavy inspiration from Greco-Roman and Neoclassical architecture of Earth. Echoing real history, Viverian Architecture is heavily associated with the Imperial Architecture of SimPvP's distant past.
The stylistic and material choices of Viverian Architects have been criticized by various players, but it has determined that no major changes could be made without sacrificing at least one of the three virtues.
Guide
stuff will go in here
Basic
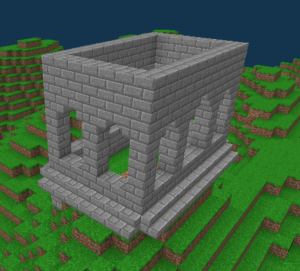
Basic Viverian Architecture is designed to provide a simple but respectable house to a builder of good taste but limited skills or resources. It is not designed to be better than true architecture, but only to be better than a dirt or cobble cube house.
Foundation
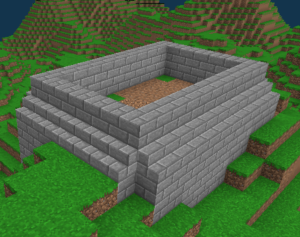
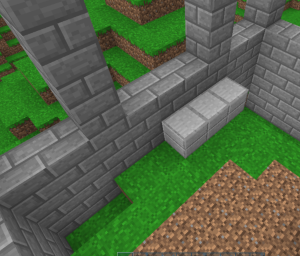
The fundamental unit of Basic Viverian Architecture is a cobblestone square of an odd width and length (i.e. 5, 7, 9).
Windows
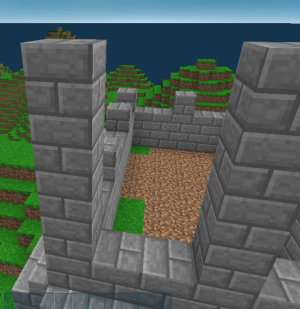
Simple Viverian windows are often 1 wide by 3 tall gaps between thin stone pillars, based on a simplified version of classical Greek pillars.
Floor
A Basic Viverian floor will often be plain stone slabs.
Roof
The ideal roof material for Basic style is stone slabs, usually in a simple pyramidal shape.
Intermediate
Intermediate Viverian Architecture is meant to provide guidelines for pleasing, yet still fairly simple, house designs. Houses of this type can be produced quickly and cheaply relative to their size and quality, making them convenient to build on survival servers.
Foundation
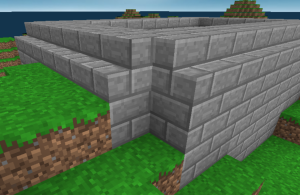
The typical Intermediate Viverian house uses a rectangular foundation laid out roughly according to the golden ratio. A 7 wide by 11 long foundation is common. To be considered better than Basic, the foundation must be supported by stone brick stairs, displayed below.
These stairs, in turn, must be supported by stone bricks beneath them.
Once the support is complete, raise the core foundation by 1 meter vertically.
Windows
Intermediate windows can be simple square 1 by 3 holes as in Basic, but they are often slightly more complex. The typical Intermediate window is also shaped roughly according to the golden ratio, often 3 by 4 or 2 by 4. Not all windows in a house must be the same width. A 2 wide window may be placed beside a 3 wide window.
After enclosing the windows, place upside down stairs at the top to create arches.
Turn all the windows into arches.
Border
Above the windows, build the wall up by 2 meters.
After a 1 meter vertical rise, place a layer of upside down stairs. Borders of this type are an integral part of Intermediate style.
After completing the stairs, build up the wall by an additional meter.
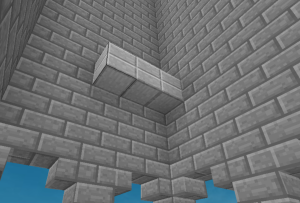
Then add several more meters of stone brick walls.
Reliefs
On these blank sections of walls, reliefs can be built. Below is displayed a typical frontal relief. This particular shape is known as a Pip.
On the sides of buildings, reliefs in the shape of S or Z are more common.
Once the reliefs are complete, enclose them in an additional support border of stairs.
Roof
Build up the walls by an additional few meters, then place another border layer of upside down stairs. The roof will go above this layer.
The roof of an Intermediate style house is often a triangular prism, built around a core stone ceiling.
Atop the stone ceiling, place a layer of wood for the roof, ideally spruce planks.
Make sure the spruce overhangs the stone walls by at least 1 meter horizontally to the front and back.
Then, place spruce stairs atop the roof.
This will create a fairly realistic roof shape.
At the peak of the roof, place spruce slabs. This will improve the appearance of the roof, and help prevent monster spawns.
Interior
Intermediate houses should have slightly complex interiors.
Floor
The floor of an Intermediate house is usually simple spruce planks or stone slabs.
Second Floor
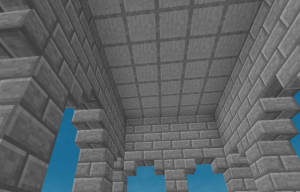
A second floor should be placed a few meters above the windows.
Beneath this floor, place support arches for a more realistic and decorated appearance.
Entrance
The house is still missing an entrance. That will be the next goal.
After the entrance is complete, add a stone slab staircase/road leading out from the house.
Enclose this road in one meter of stone brick on both sides.
Intermediate Subtypes
Domes
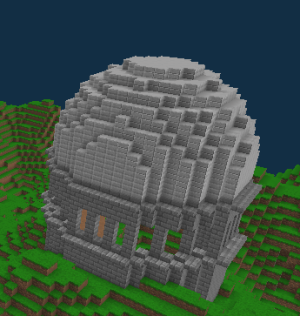
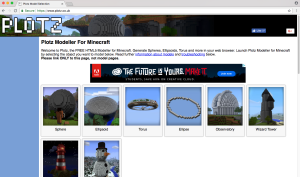
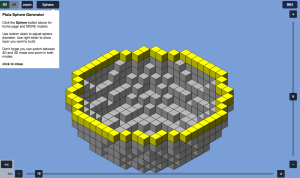
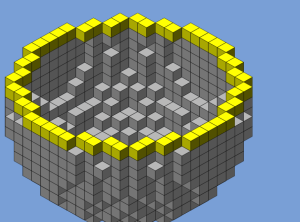
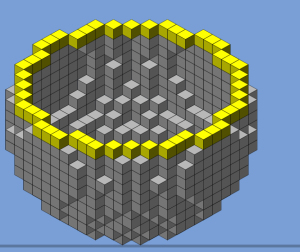
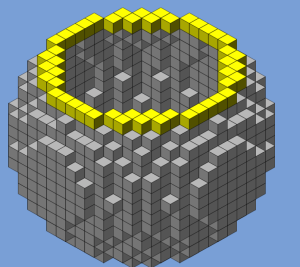
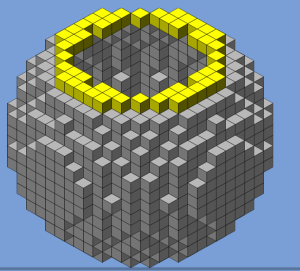
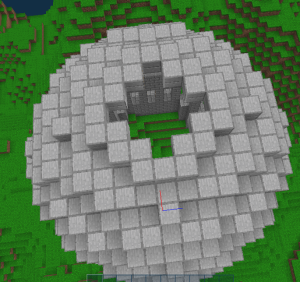
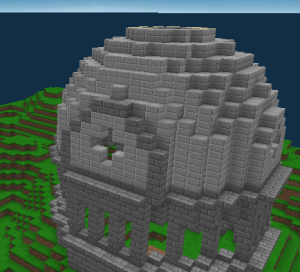
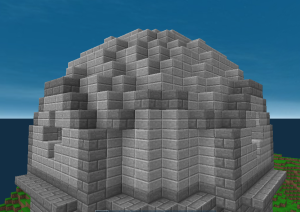
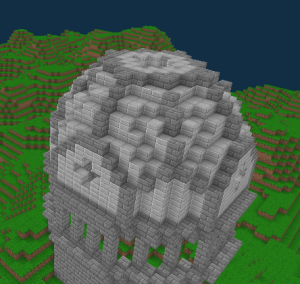
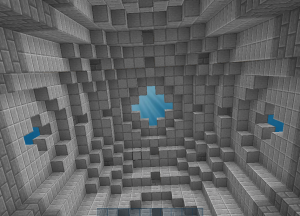
Viverian Architecture is known for its domes, most often made of stone slabs. The domes are usually planned using the website plotz.co.uk, which allows Minecraft players to plan three dimensional voxel spheres. No login, payment, or download is required.
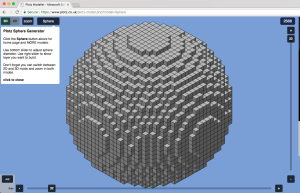
First, go to the website, displayed above. Click the option "sphere" to plan a typical Intermediate dome building.
The default setting is a size, or diameter, of 32. It can be made larger or smaller using the slider at the bottom of the page.
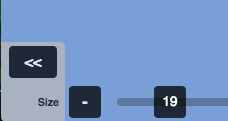
For this example, the size will be 19. It can be any number, but odd numbers are always preferable.
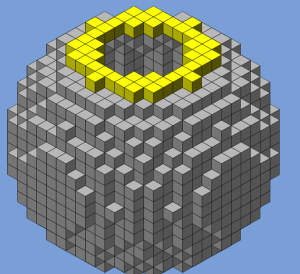
Then, set the height to slightly less than half, in this case, 9.
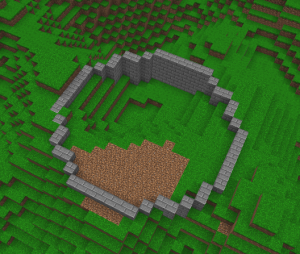
Build a stonebrick circle which exactly matches the highlighted yellow blocks displayed on the website.
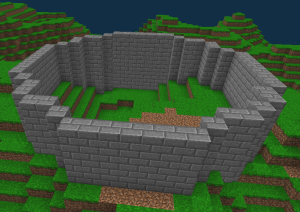
Create a vertical overhang using either upside down stair blocks, or half slabs. This provides a three dimensional texture to the body of the build.
Above the overhang, build windows or reliefs, with another similar overhang above them.
Then, switch to the roof material, and begin building a circle of the same exact shape atop your building.
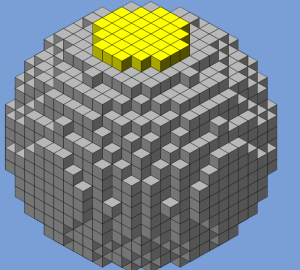
At this point, refer back to plotz.co.uk to make sure you are building what you intend to.
Raise the hight on plotz and continue building what you see.
Continue until you complete the entire top half of the generated voxel sphere.
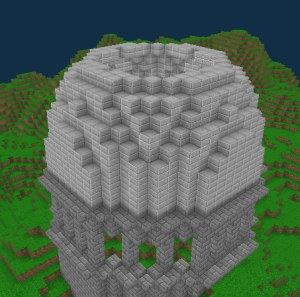
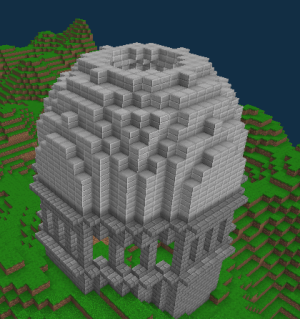
The hemispherical dome roof is pleasing to the eye and makes the building slightly more impressive than its fairly small size and simple design would usually appear.
Spires
Multishape Structures
Roads and Bridges
Town Design
Advanced
good shit
Domes
History
more stuff will go here
Pre-History
Chain City
Cindisfarne
The Empire
Stonetown
Ascaris
The Order
The Principate
Quinsi
The League
Nocoords?
fuck
I'm gonna take a break cause it's hard to write an article this pretentious. I swear to god I have so much actual shit to do and I can't believe I'm wasting my life on this
